🗓 This documentation was reviewed in August 2026 to reflect Jira’s user
interface changes. If, at the time of reading, you find that our instructions
are no longer up-to-date, please let us know!
AppSignal connects to Jira over OAuth 1.0. Jira now also supports OAuth 2.0,
but AppSignal does not use it yet, so the setup below uses an OAuth 1.0
application link.
Configure Jira
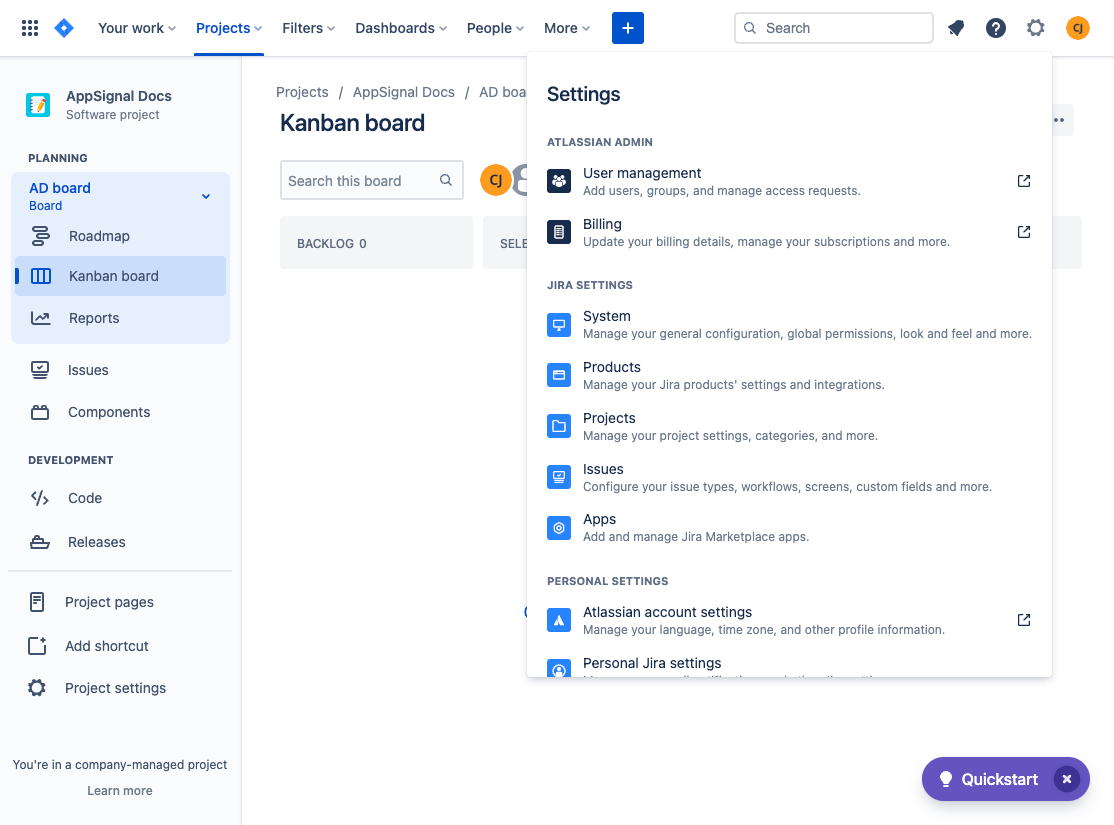
Before we can link AppSignal to Jira we need to configure Jira to accept our OAuth request. To do this, select the settings cogwheel (⚙️) in the navigation bar, then select Apps from the settings menu. In older versions of Jira, this menu item is called Products instead.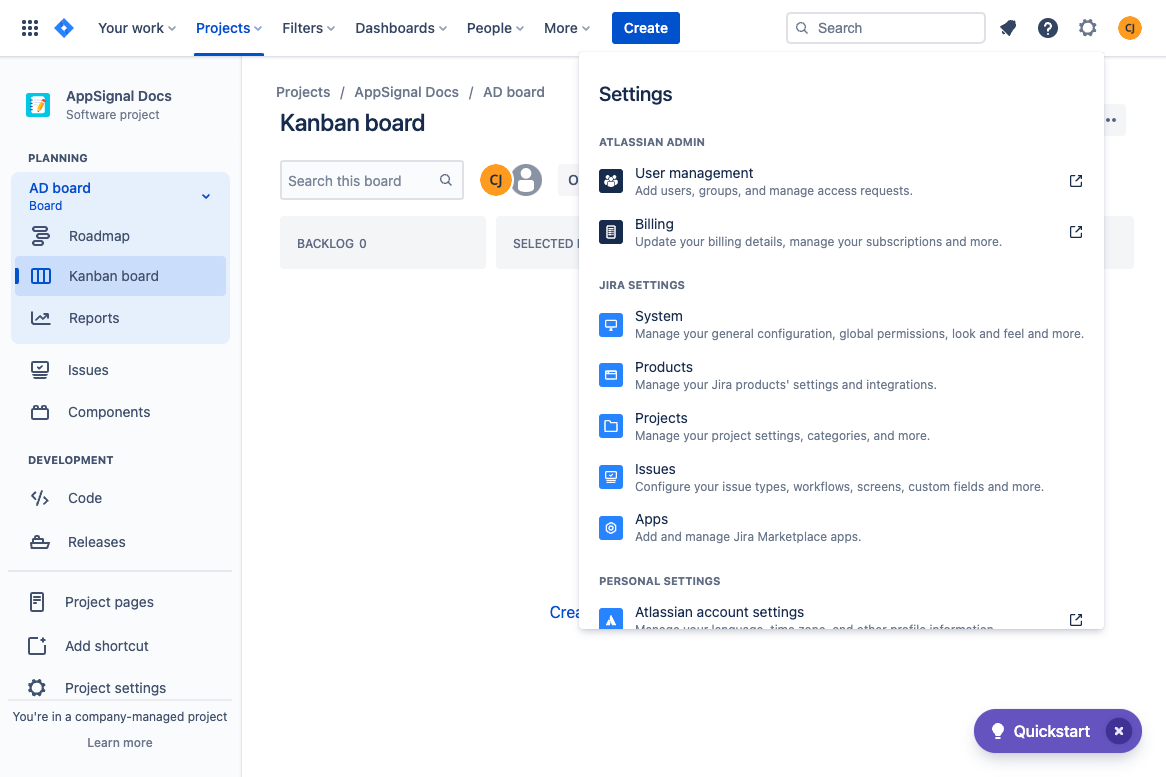
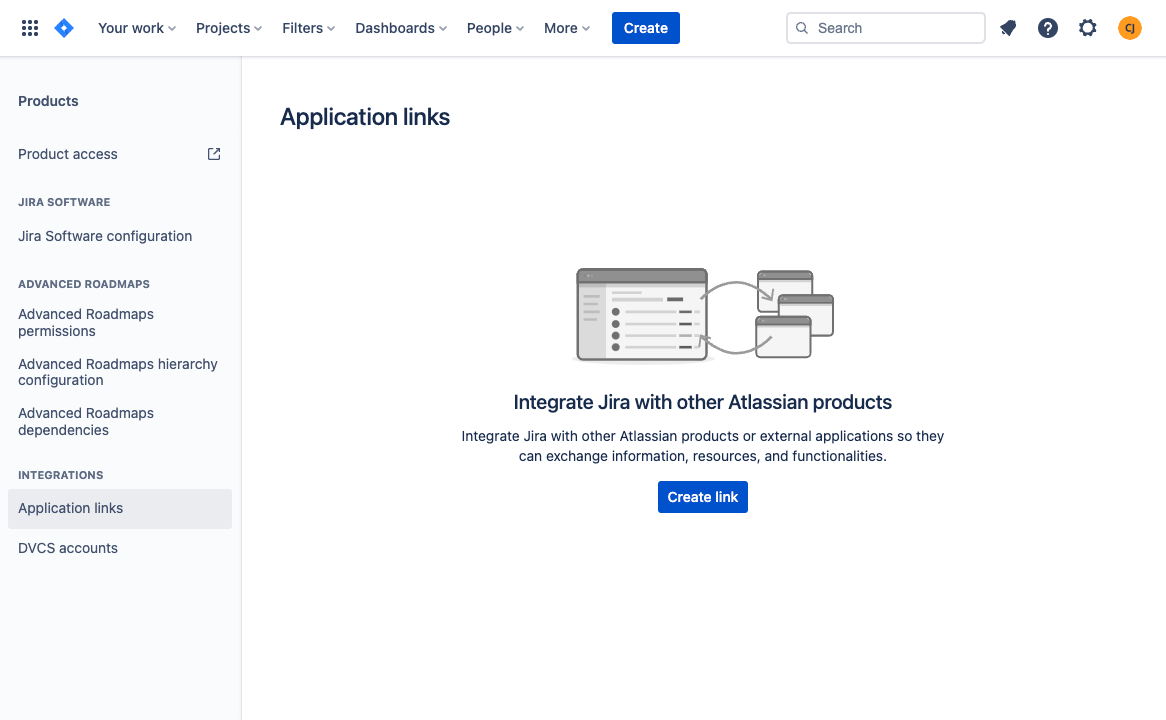
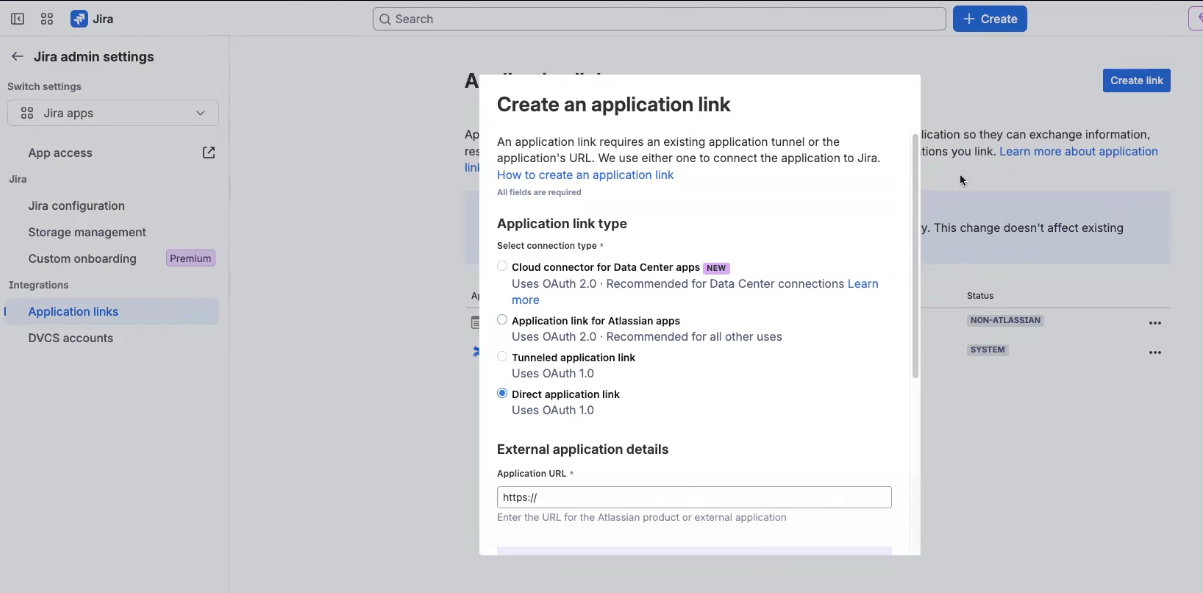
- Under Application link type, select “Direct application link”, the last of the four options, which uses OAuth 1.0. The first two options use OAuth 2.0, and “Tunneled application link” needs an existing application tunnel.
- Under External application details, enter
https://www.appsignal.comin the Application URL field.
AppSignal, and continue.
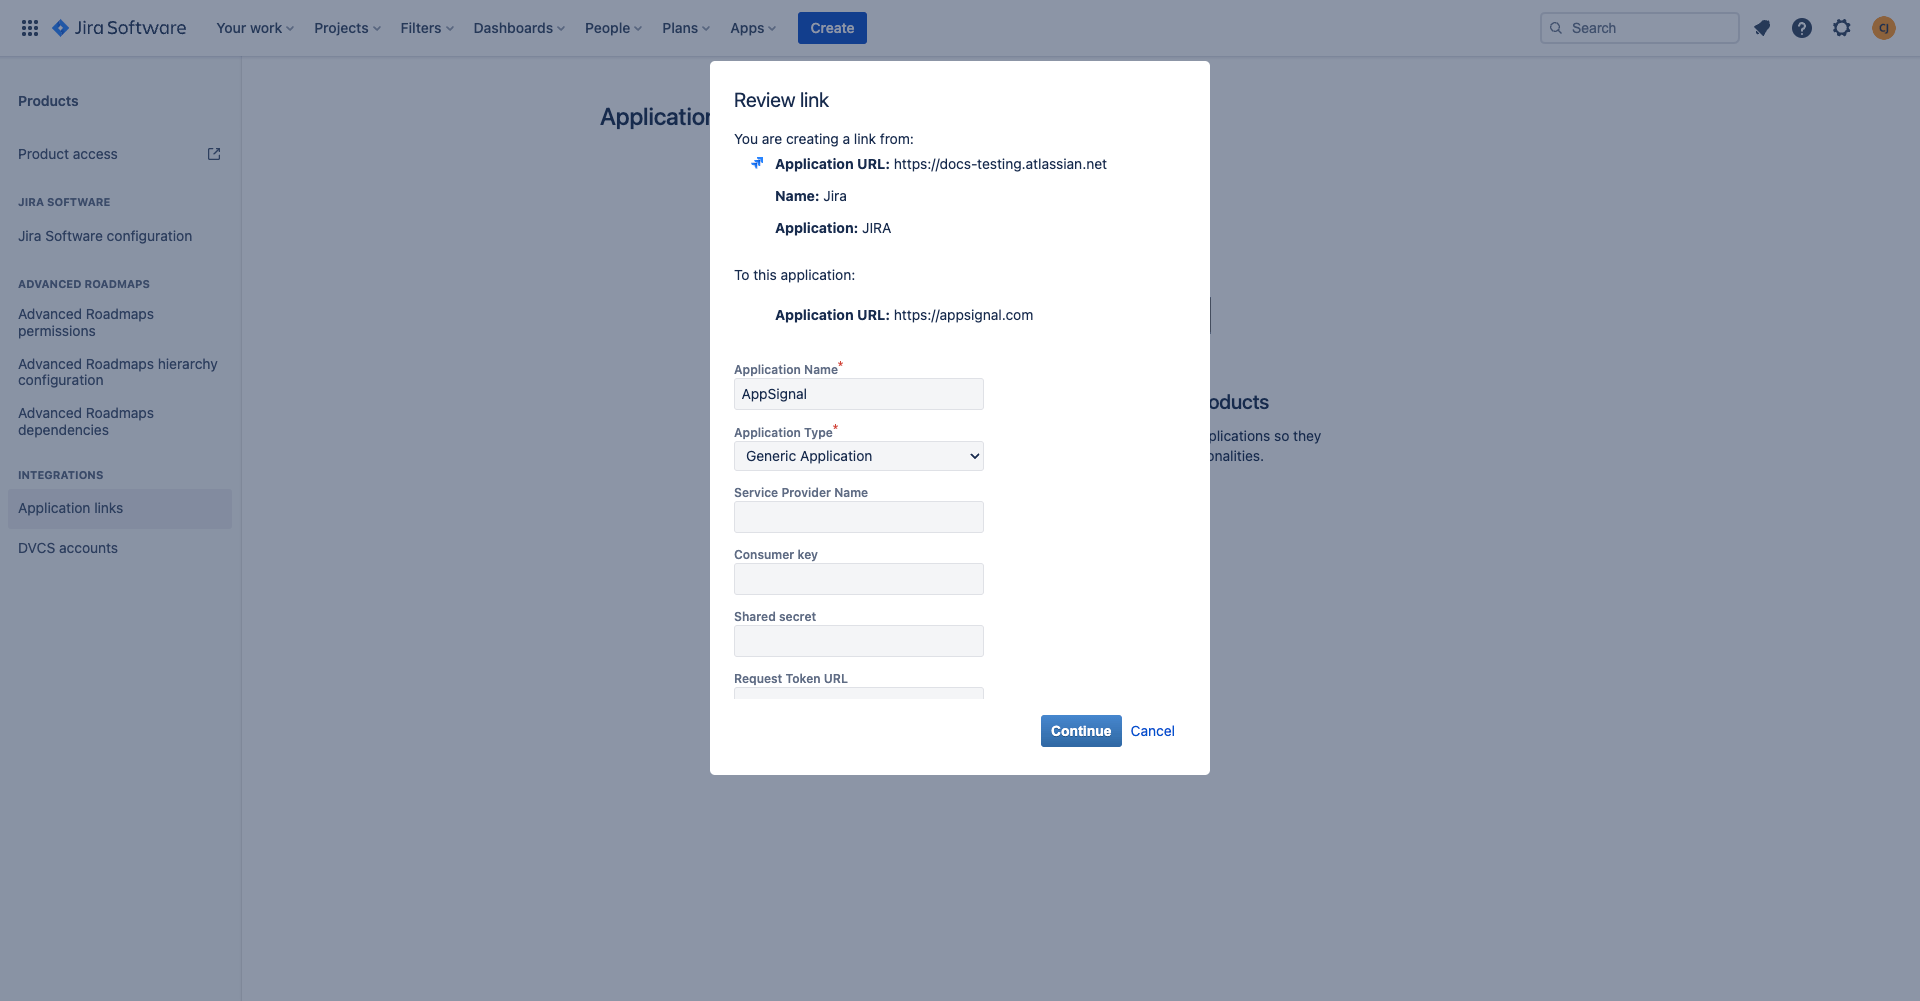
OAuth Setup
Now it’s time to configure AppSignal’s “Incoming Authentication”. To do this, navigate to “Edit” on the “Application links” screen: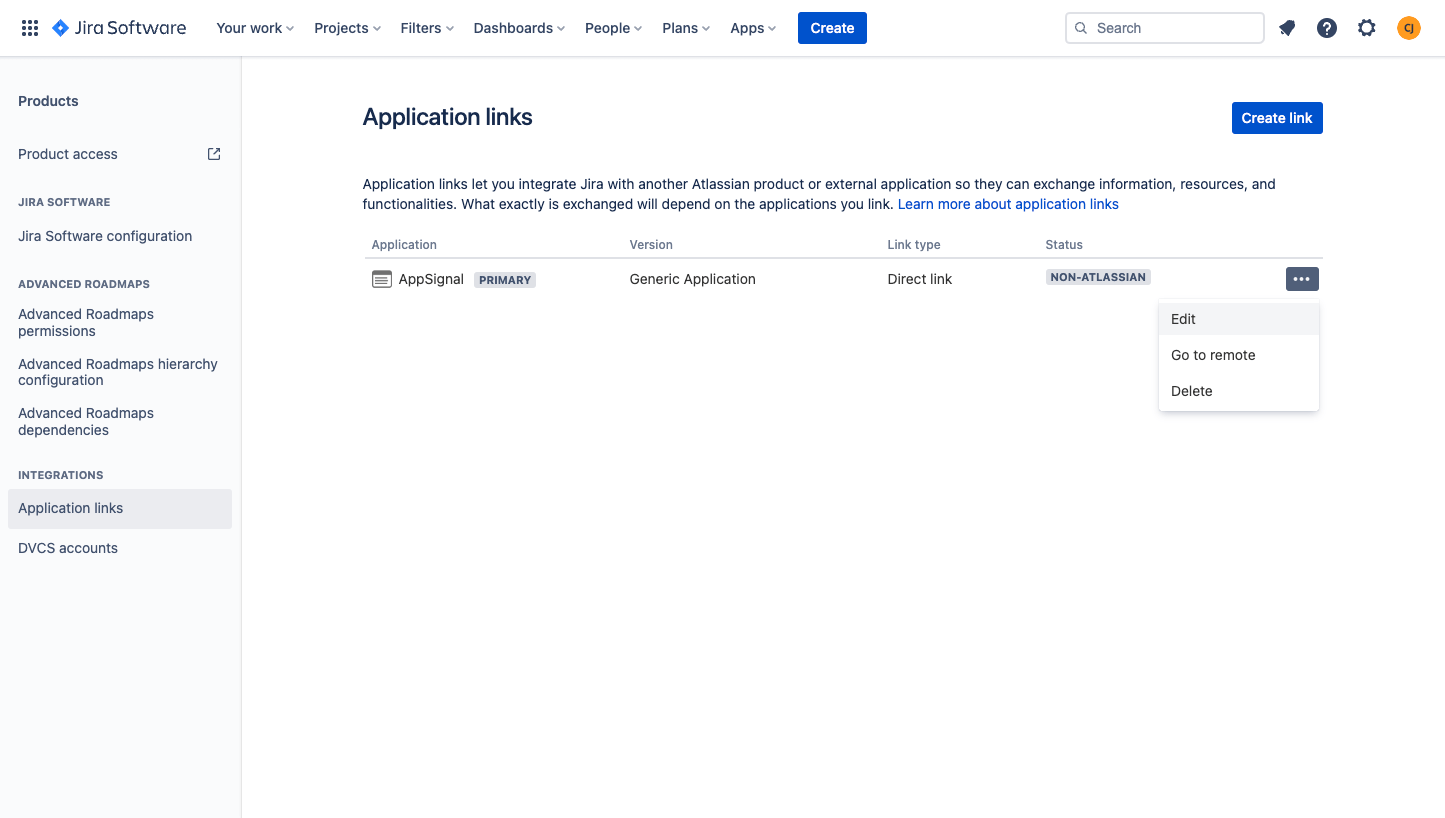
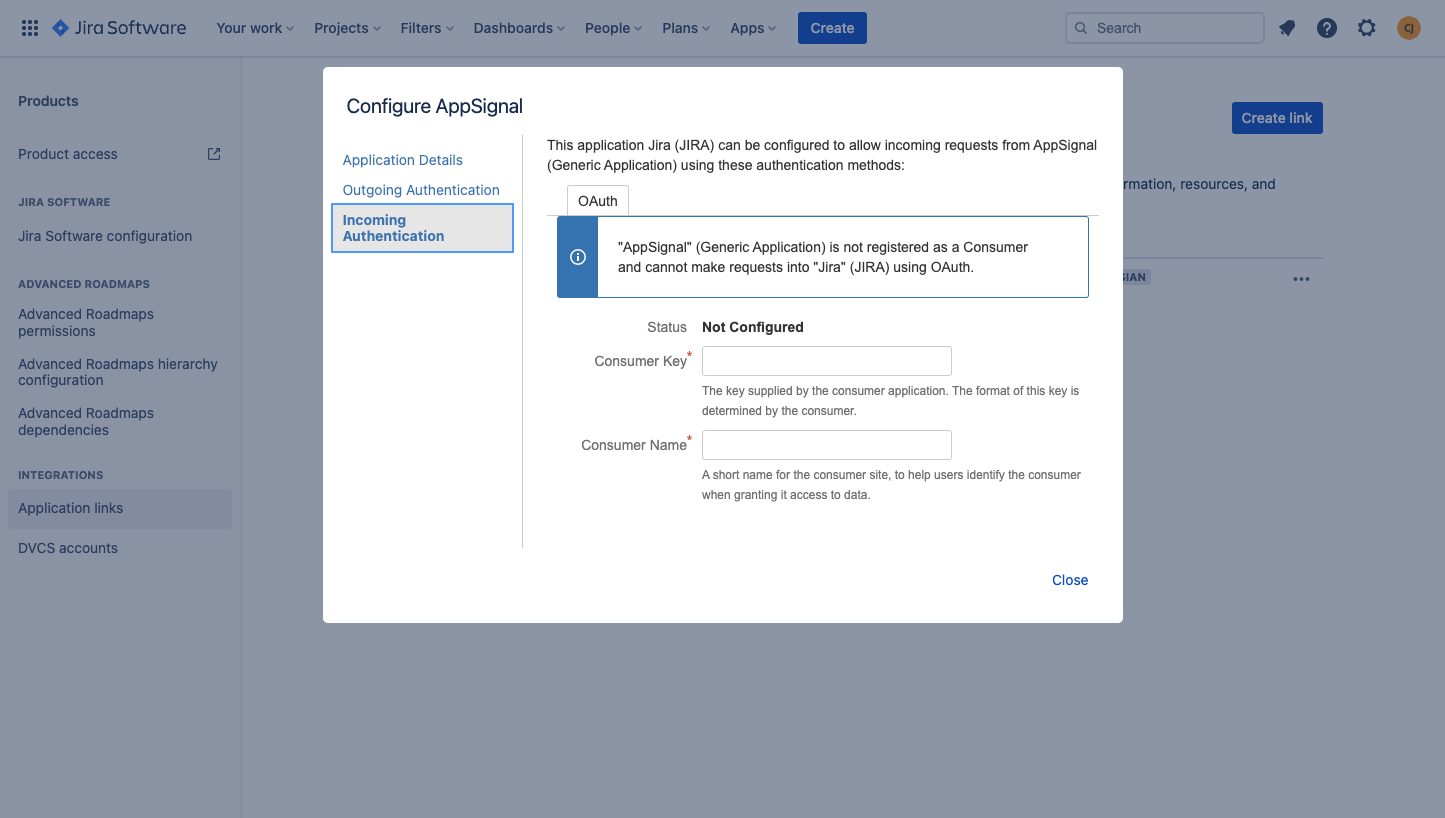
- Consumer Key:
ce2jejafmni3qmnzrfergg9fLpzxmppl - Consumer Name:
AppSignal - Public Key:
Text
Configuring AppSignal
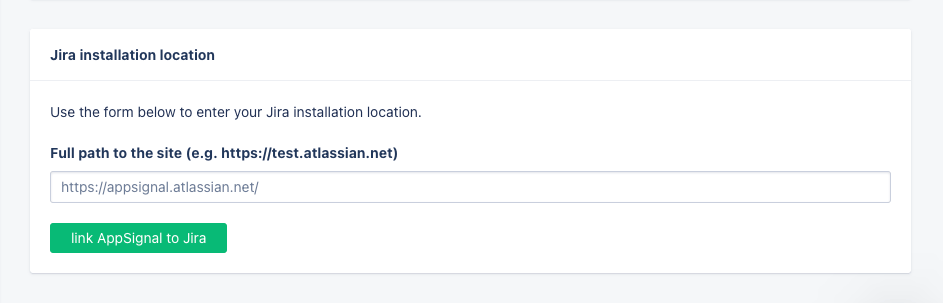
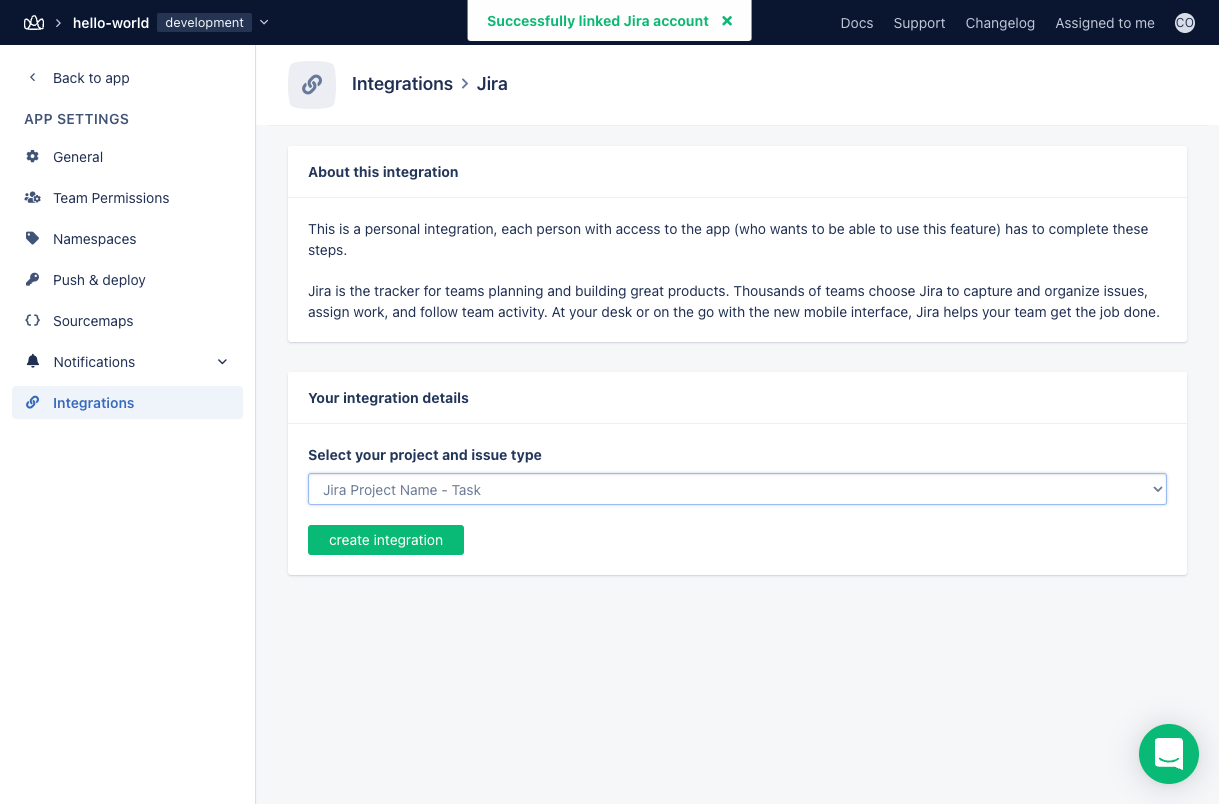
To complete the process of linking your Jira project to AppSignal, AppSignal must be configured to communicate with your Jira project. To do this, open your application in AppSignal. Click “App settings” on at the bottom of the left-hand navigation pane and then click “Integrations”: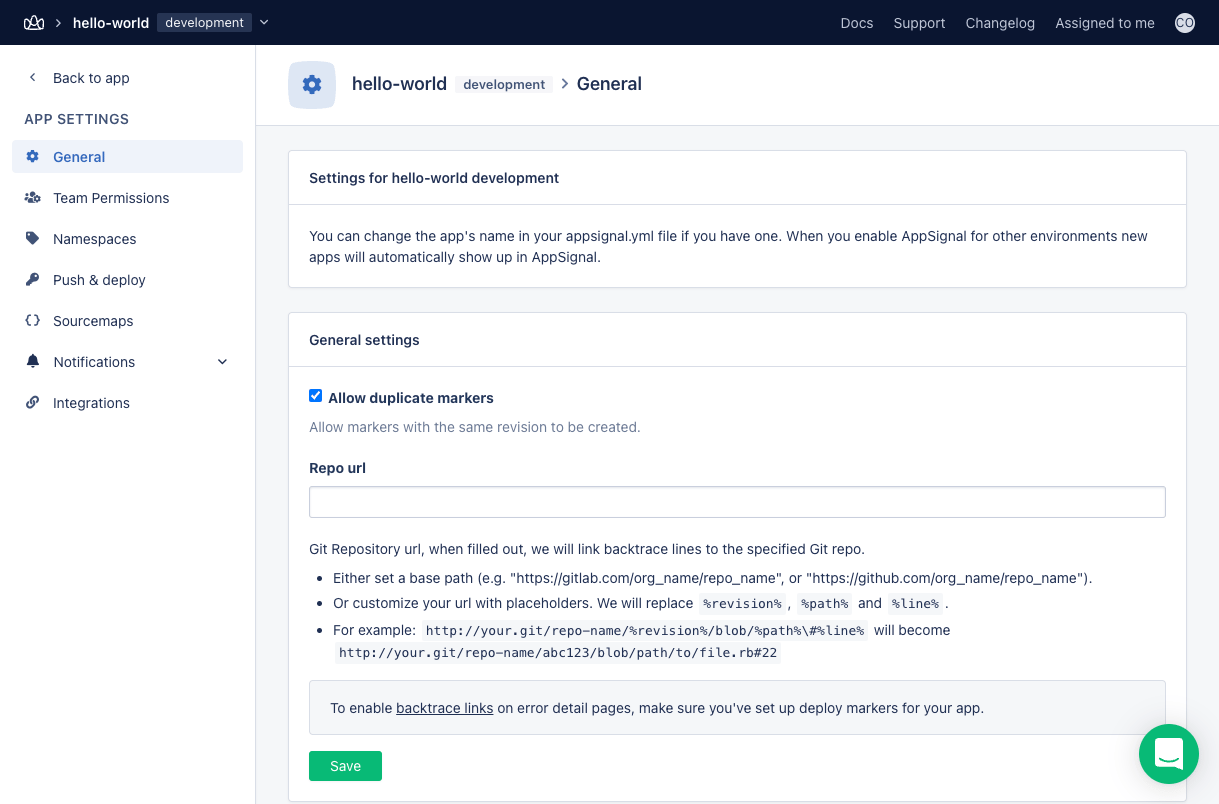
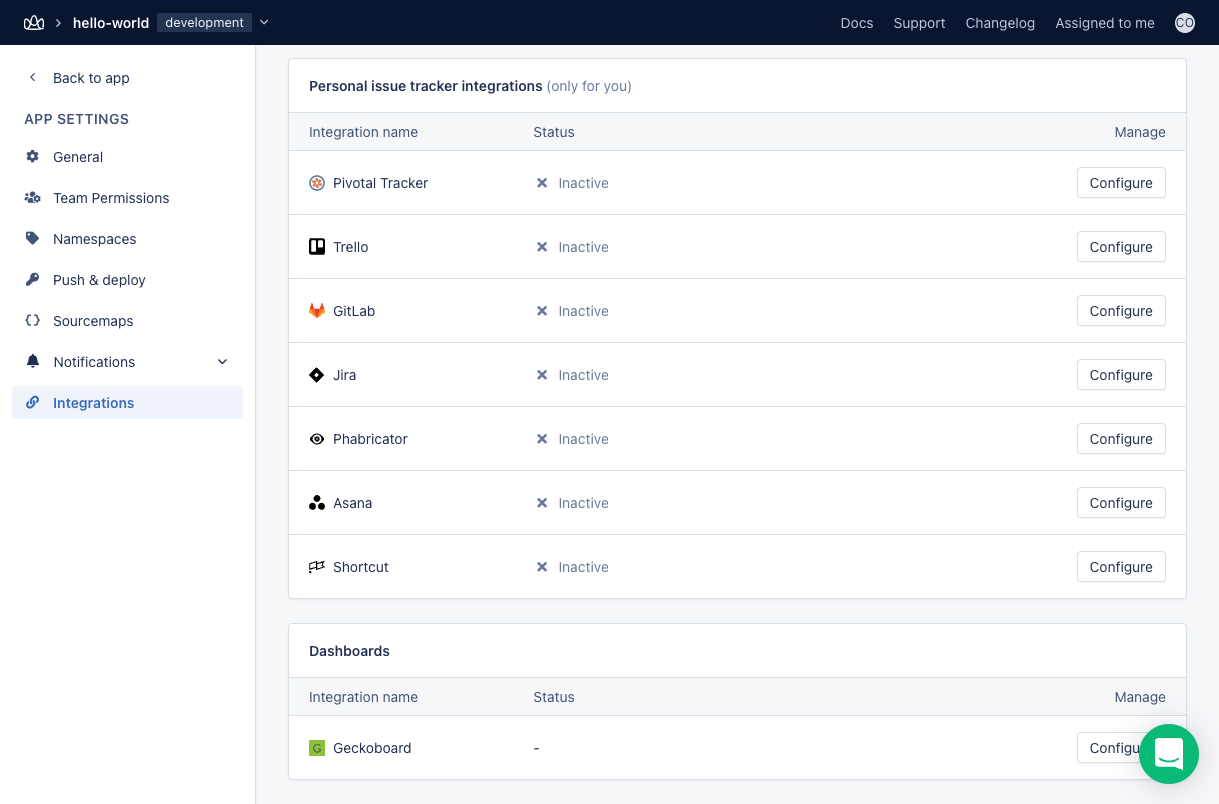
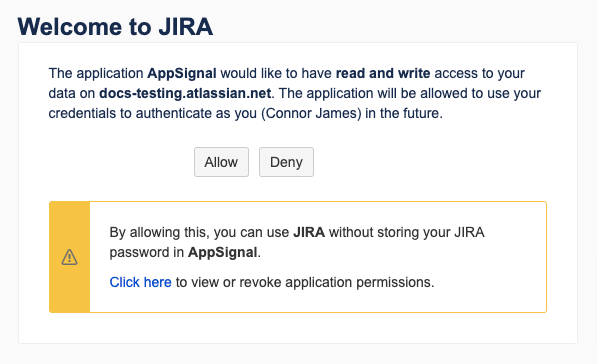
project-name.appsignal.net, then click “link AppSignal to Jira.
Create Jira tickets for incidents
Once Jira is connected, you can create a Jira ticket for an error incident:- Open the error incident’s details screen.
- In the Actions panel, select Send to Jira.
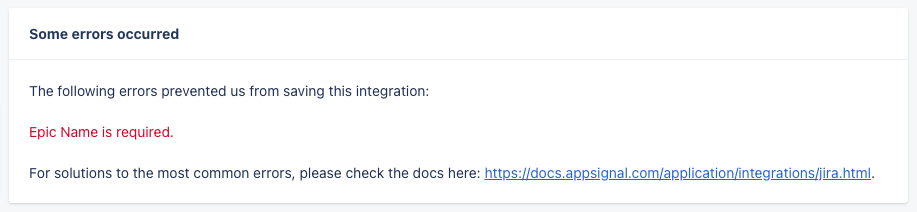
Errors
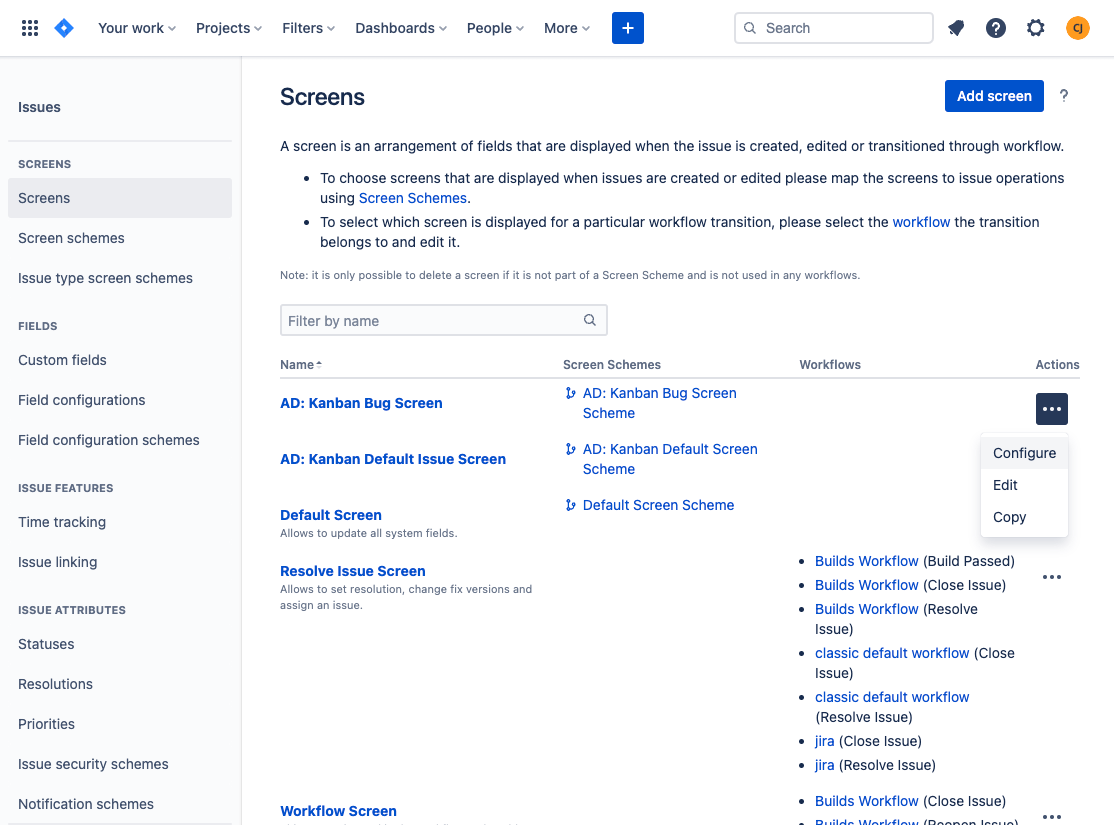
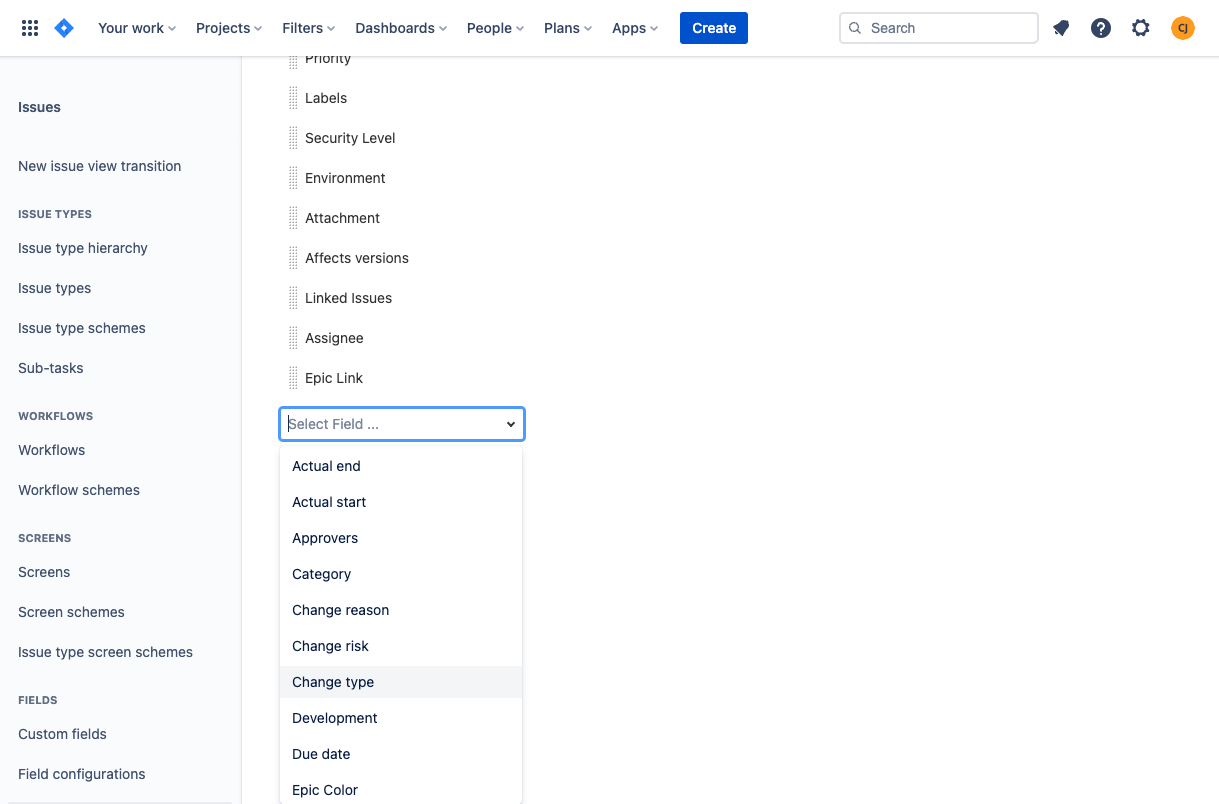
AppSignal requires four fields to be present in Jira:- Labels
- Environment
- Summary
- Description