We will walk you through all the steps needed to integrate AppSignal with your GitHub Organization’s repositories and link them to your AppSignal apps so that you can set up issue tracking.

Adding Organization issue tracker integrations

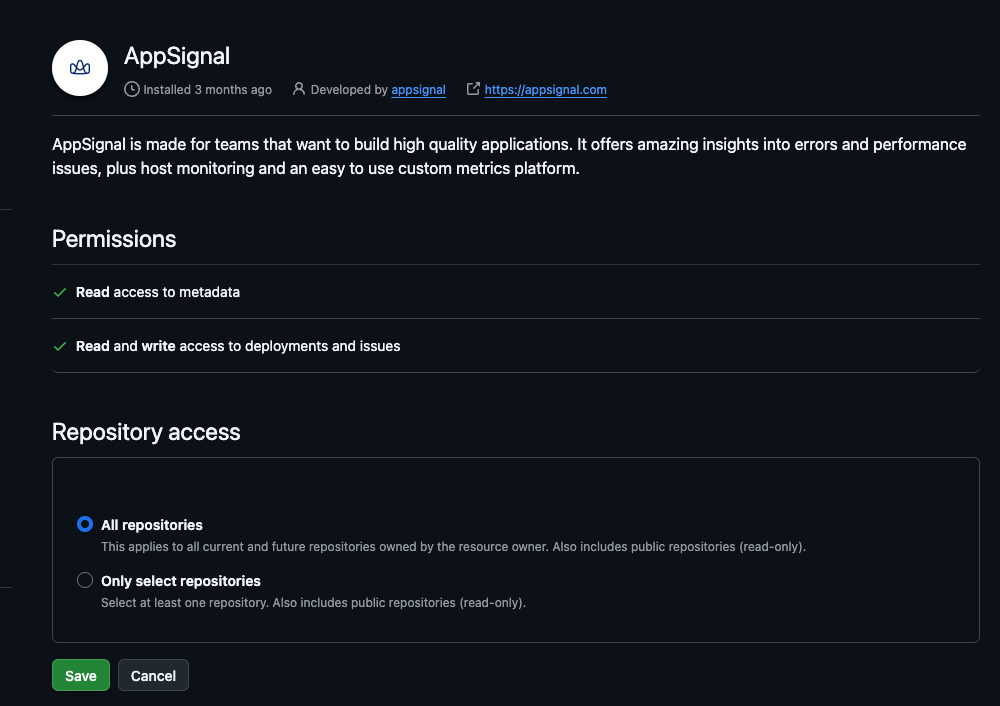
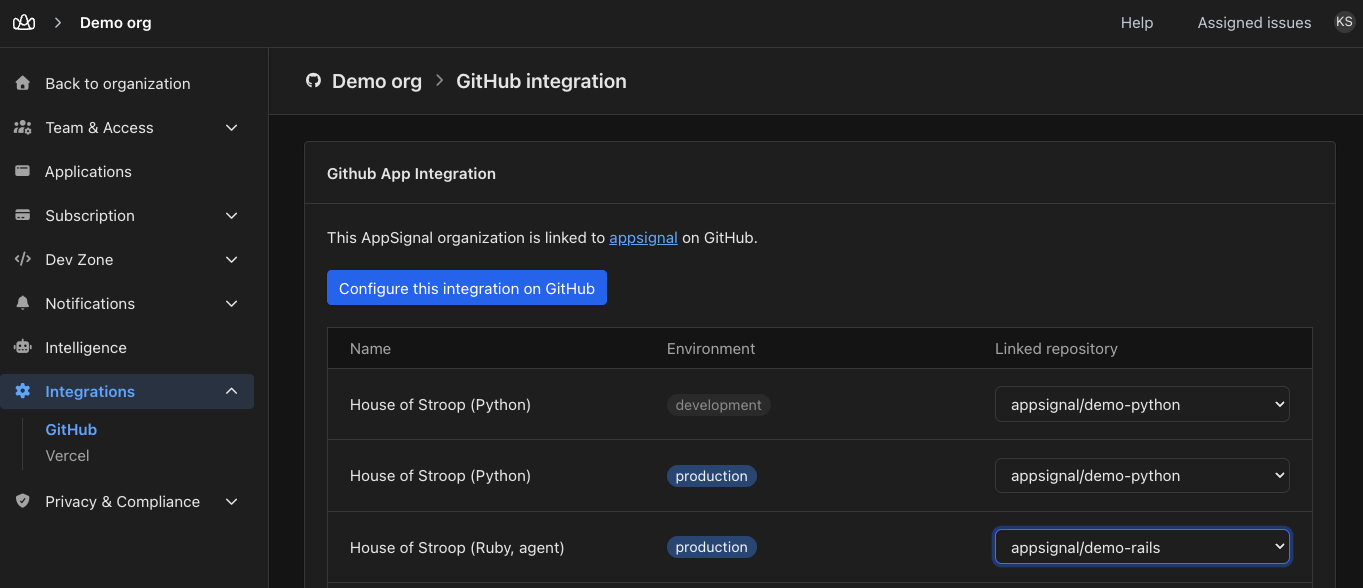
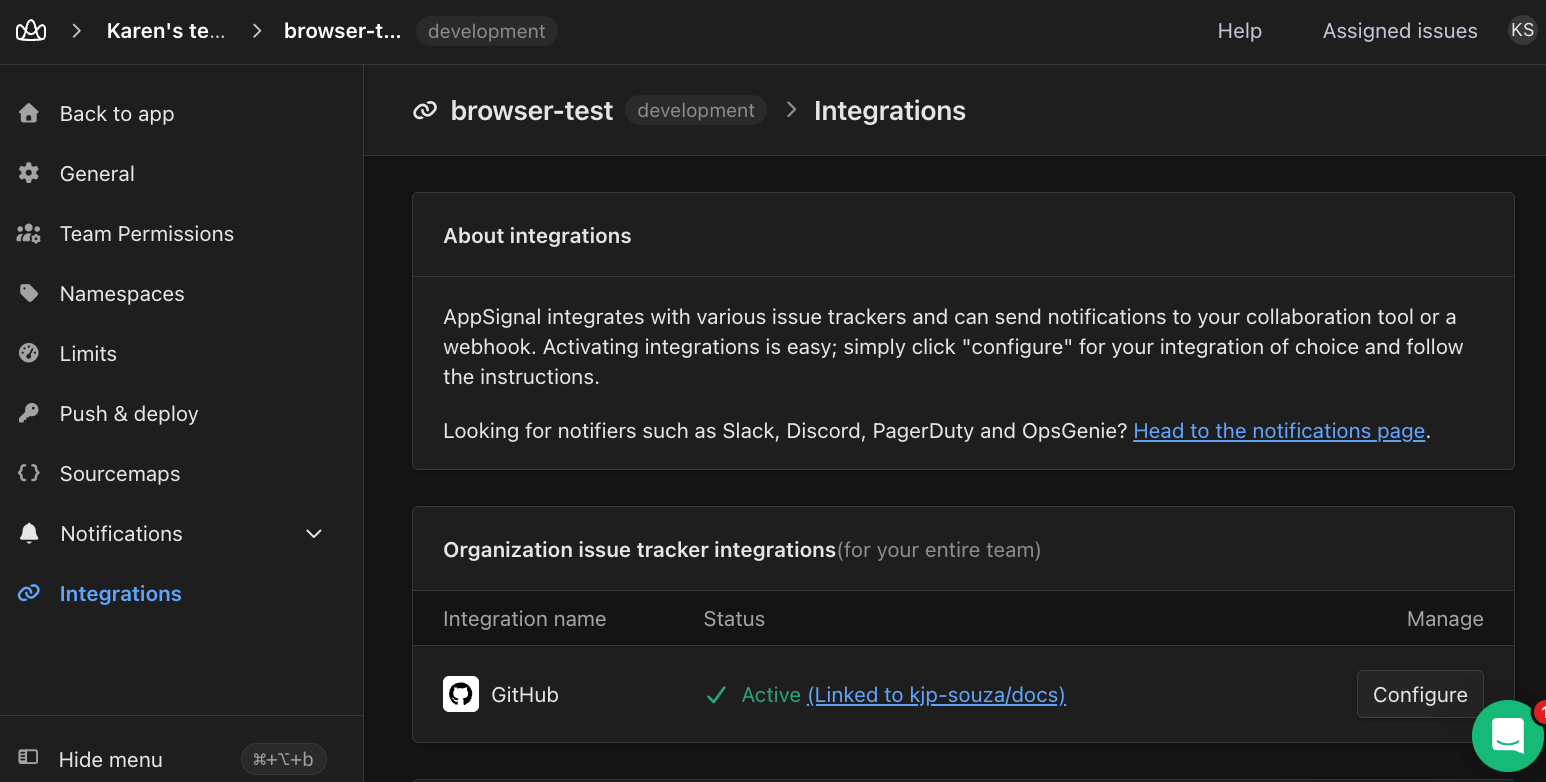
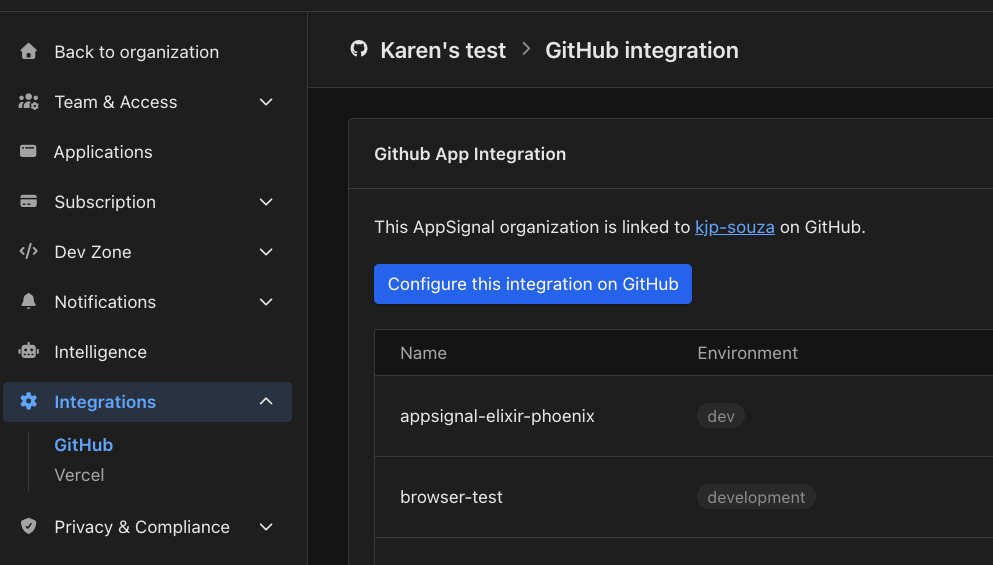
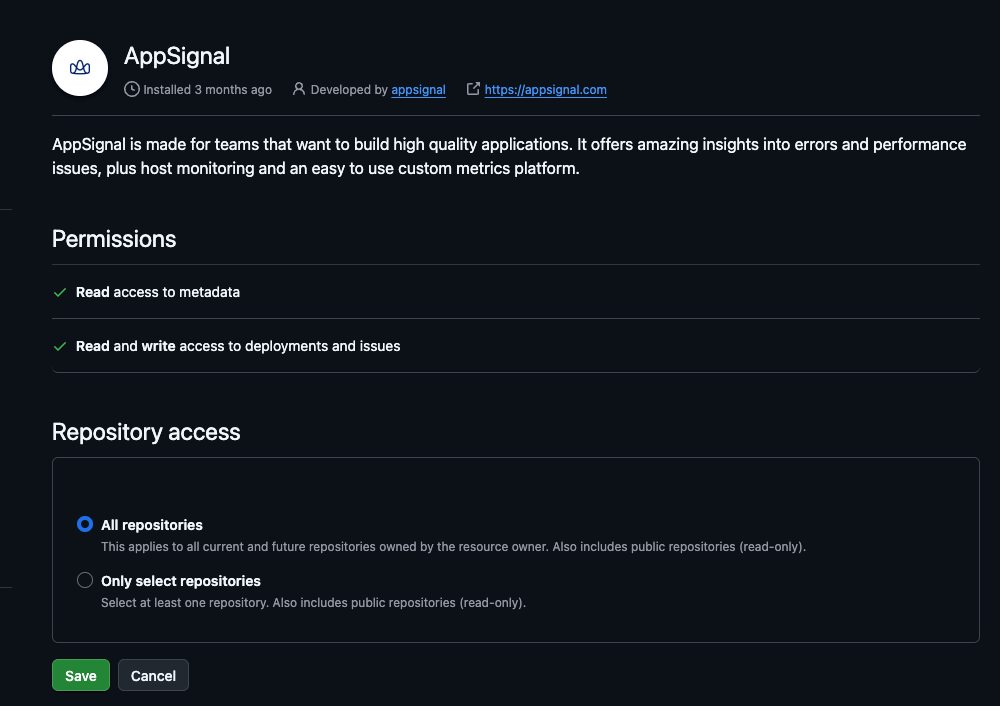
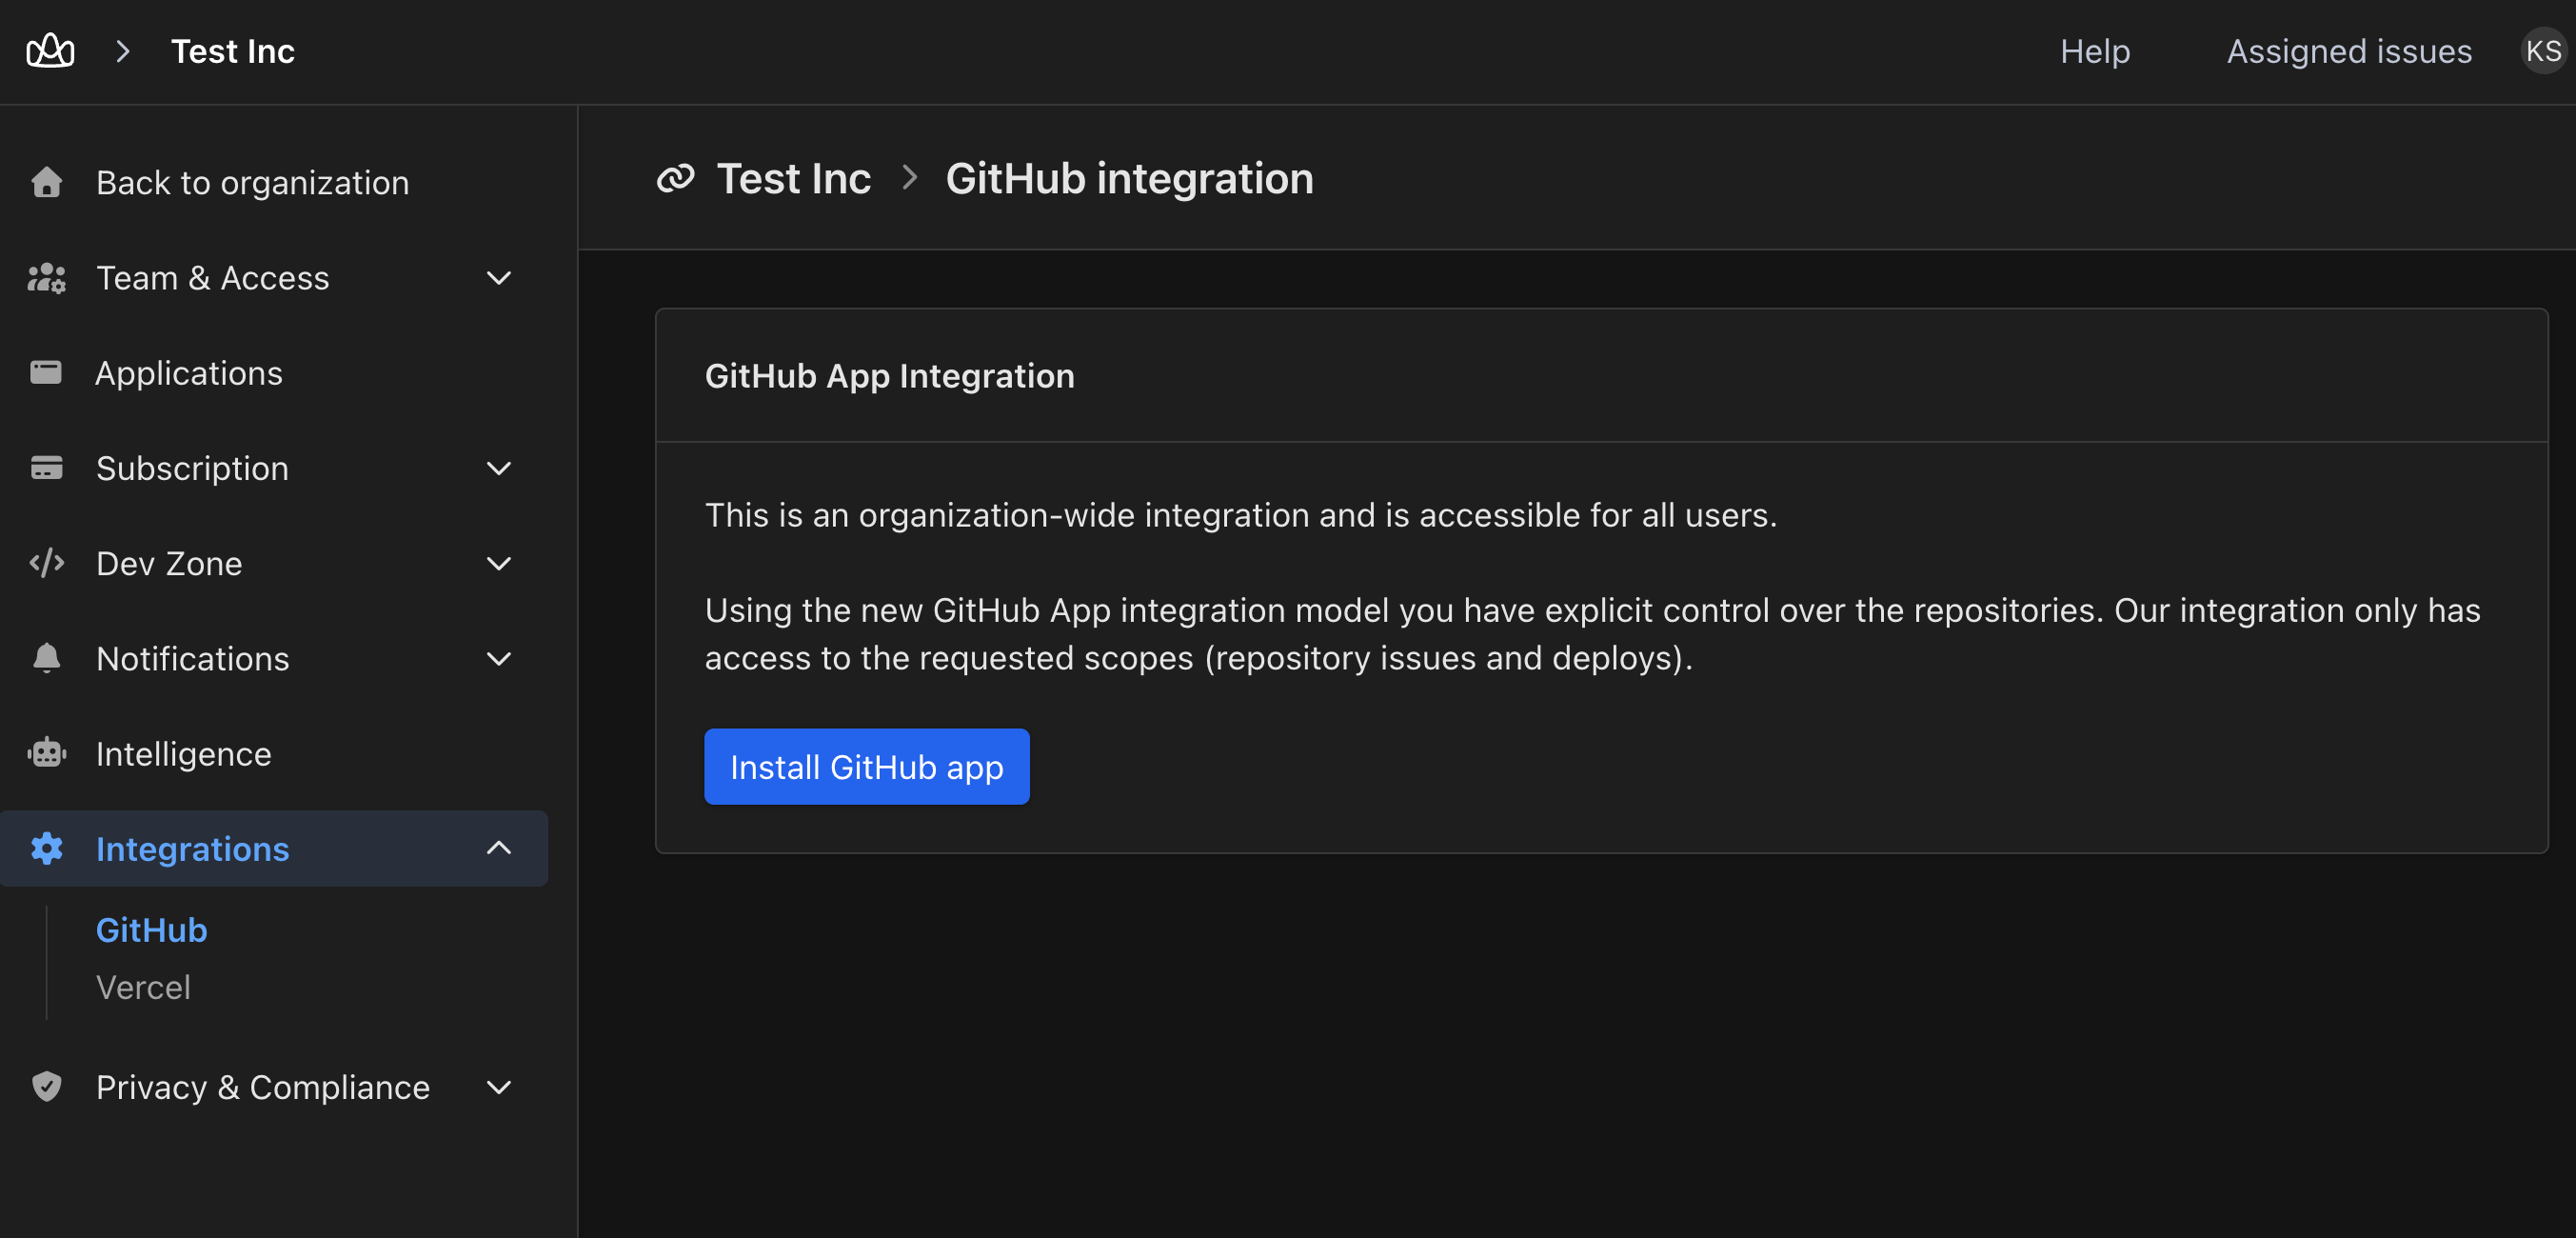
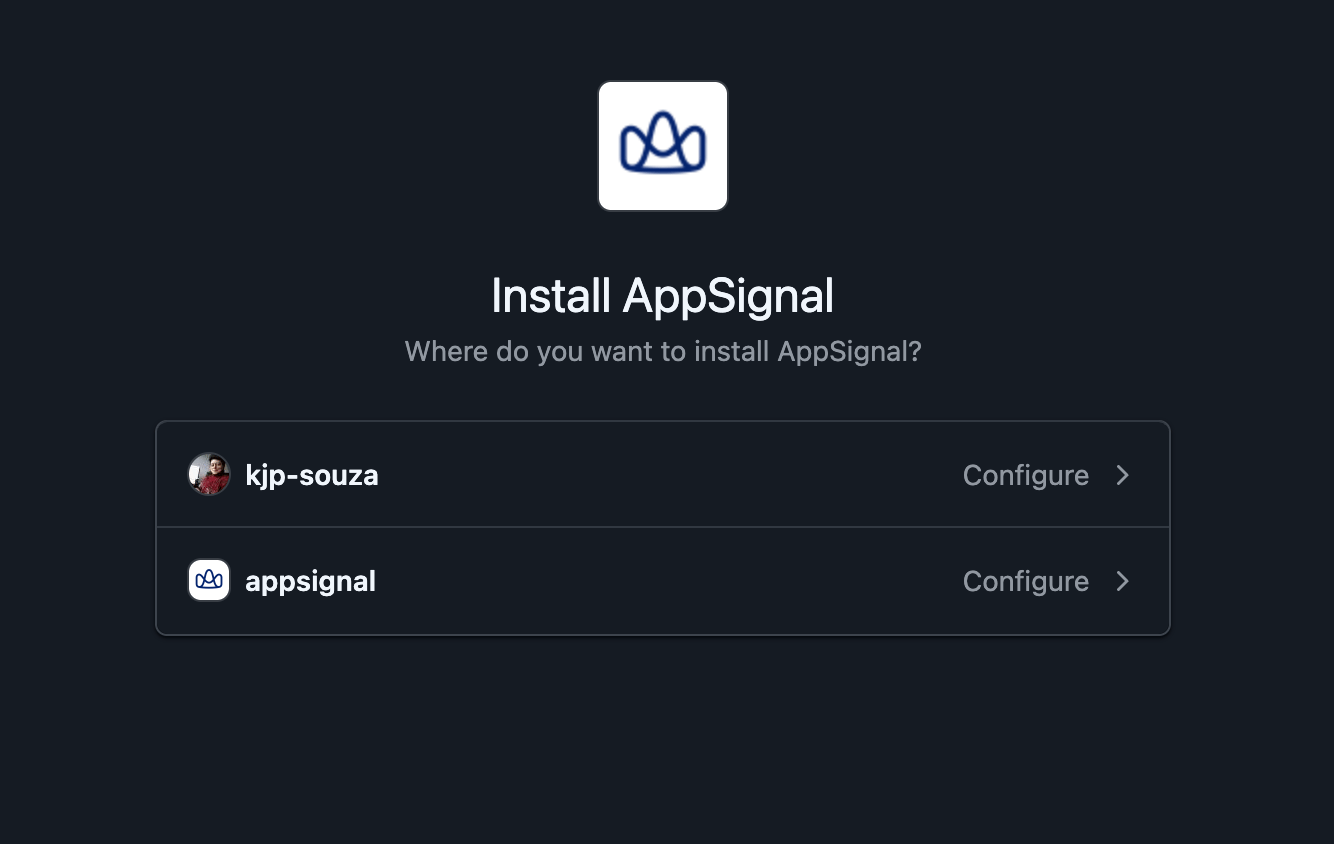
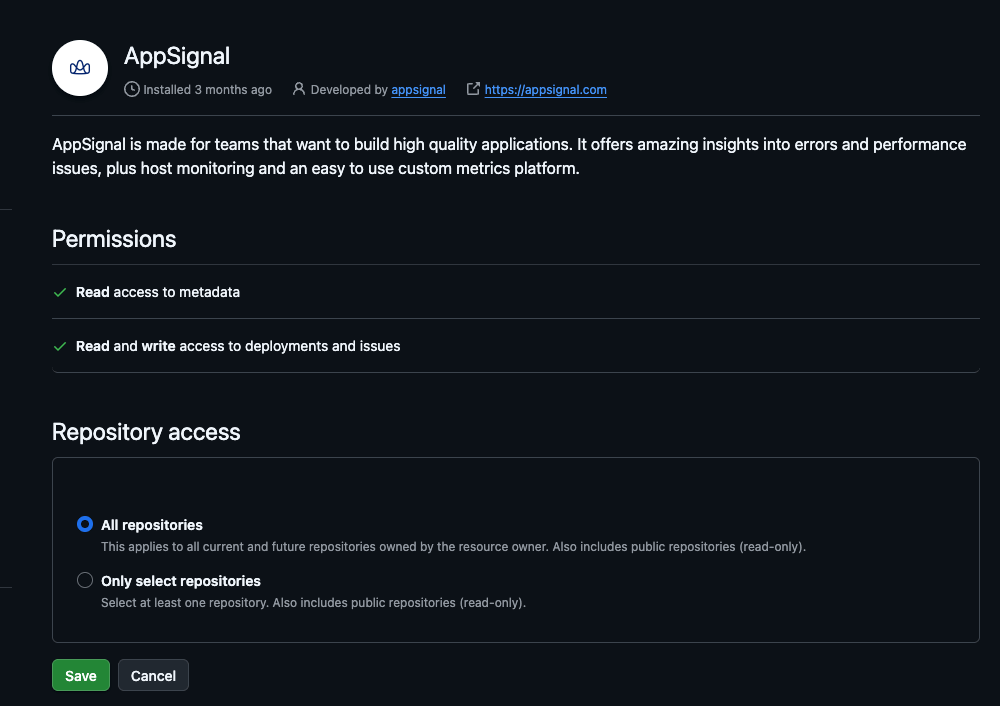
Head over to your organization’s GitHub integration page. You can also get there from your application’s Integrations page: if the GitHub row shows Inactive, select Configure. Select Install GitHub app. The organization's GitHub integration page with the Install GitHub app button GitHub asks where to install AppSignal. Select Configure next to the organization or account that owns your application’s source code. GitHub asking where to install AppSignal, listing a user account and an organization Under Repository access, choose All repositories or Only select repositories and confirm. GitHub labels the button Install for a new installation, or Save when you change an existing one. If you are not an owner of the GitHub organization, a label that reads request shows next to the repository name. Select Save or Update access to request the installation. An owner then has to approve it. The AppSignal app's permissions and repository access on GitHub GitHub sends you back to your organization’s GitHub integration page in AppSignal. It confirms with GitHub app installed. Please link a repository. For each application, pick its repository in the Linked repository column. Then select Save repository selection. AppSignal confirms with Updated repository selection for apps. The organization's GitHub integration page with a linked repository per application You are now done. Back on your application’s Integrations page, the GitHub row shows Active with the linked repository. The application's Integrations page with the GitHub row showing Active and the linked repository
Approve new permissions on GitHub

Drop a pull request link in an incident note, and AppSignal tracks it for you: the incident shows whether the fix is open, merged, or closed, without a trip to GitHub. To follow pull requests, the AppSignal GitHub app needs a few more permissions than it had before. GitHub keeps the current permissions in effect until an owner of the GitHub organization approves the new ones. To approve the new permissions:
  1. In your organization settings in AppSignal, go to Integrations > GitHub and select Configure this integration on GitHub. GitHub opens the settings page of the AppSignal app installation. GitHub may first ask you to confirm access with a verification code.
  2. Review the permissions listed under Permissions and select Save. Only an owner of the GitHub organization can approve them. If you are not an owner, send the page to someone who is. The AppSignal app's settings page on GitHub with its permissions and the Save button
GitHub notifies AppSignal as soon as an owner saves the new permissions.

Permissions the AppSignal app requests

The AppSignal GitHub app asks for repository permissions only. It does not request organization or account permissions.

Troubleshooting

If you already linked your GitHub organization with AppSignal but a repository is missing on the organization’s GitHub integration page, select Configure this integration on GitHub. The organization's GitHub integration page with the Configure this integration on GitHub button GitHub opens the AppSignal app’s settings. Under Repository access, add the missing repository, or choose All repositories, and select Save. The AppSignal app's repository access on GitHub with the Save button Back in AppSignal, the repository now appears in the Linked repository drop-down. If anything went wrong while validating the integration you will be prompted with the error message. Feel free to contact us if you experience any problems while setting up this integration.